

How To Create Woocommerce Login Page
How to create a WooCommerce customer login page and widget
In this article, we'll show you how to create a WooCommerce customer login shortcode. There are some technical aspects that are covered, as well as how it can be applied in your site. In addition, we'll look into error handling, to make sure it doesn't break your site in case WooCommerce is disabled.
Easy login forms are great to improve your site usability. If you have many login options, you make sure your users won't be lost in your site. This allows them to quickly place new orders, as well as track old ones.
WooCommerce's original solution for this is using a login form in the user profile and some other pages. But this still doesn't have the flexibility aspect that we need. That's why we are going to create our own login form shortcode.
Thus, this shortcode can be used in any of your pages. Additionally, it can be used in widget areas or even in your template files. Hence, one of the main aspects of our shortcode is to gracefully handle errors. Then we need to check for WooCommerce disabling and error messages.
Let's get started!

Default WooCommerce customer login options
WooCommerce has some out of the box options for user login. Usually the login form is presented whenever you visit a WooCommerce page for registered users.
The first instance is the "My Account" page, which is usually under /my-account. In this page, you can see the login form and the registration form.
The checkout page may contain the login form as well, depending on your setup. The main difference there is the inline opening form. Therefore, once you click "log in", the form opens up as an accordion. That's a great solution to save space, but also keep users on the checkout workflow.
If you want the login form by itself, though, WooCommerce has no option for it. Now let's build our own shortcode to change this.
How to create a WooCommerce login shortcode
The first step in our shortcode, is to register the shortcode the WordPress add_shortcode() function. This is its main structure, along with the main points in our code:
| function my_render_wc_login_form( $atts ) { //TODO: 1. Check if the user is logged in //TODO: 2. Use WooCommerce login form if present, if not - use WordPress login form } add_shortcode( 'my_wc_login_form', 'my_render_wc_login_form' ); |
The name is what you use in your square brackets – in this case the code registers a shortcode that can be used as [my_wc_login_form]. And the function name is what WordPress calls to render the shortcode content.
By this point the code will not do anything. Now let's start implementing the above-listed steps one by one.
1. Check if the user is logged in
We want to check if users are logged in, and if they are – we'll display a welcome message. If users aren't logged in, then we do our magic to display the form.
| if ( ! is_user_logged_in() ) { //login form code to be placed here } else { return "Hello there! Welcome back."; } |
2. Display login form
For the non-logged in users, we can display our login form. But we need to know if the WooCommerce functions that render the form are available. We can do this by using the function_exists() function.
This code renders the login form:
| if ( function_exists( 'woocommerce_login_form' ) && function_exists( 'woocommerce_output_all_notices' ) ) { //render the WooCommerce login form ob_start(); woocommerce_output_all_notices(); woocommerce_login_form(); return ob_get_clean(); } else { //render the WordPress login form return wp_login_form( array( 'echo' => false )); } |
- the
woocommerce_login_form()function prints the form markup. Thewoocommerce_output_all_notices()function will print any login errors, such as invalid username/password errors. - we use
ob_start()andob_get_clean()since the WooCommerce functions echo the markup, and the shortcode is supposed to return the markup instead of printing it. - if the WooCommerce login functions are not present, we render the default WordPress login with the
wp_login_form()function
Important: please keep in mind that the WooCommerce functions that we used here might change in the future. Therefore it is always highly recommended to always test your code after updating your WooCommerce plugin.
And this is the final version of our code:
| 1 2 3 4 5 6 7 8 9 10 11 12 13 14 15 16 17 18 | function my_render_wc_login_form( $atts ) { if ( ! is_user_logged_in() ) { if ( function_exists( 'woocommerce_login_form' ) && function_exists( 'woocommerce_output_all_notices' ) ) { //render the WooCommerce login form ob_start(); woocommerce_output_all_notices(); woocommerce_login_form(); return ob_get_clean(); } else { //render the WordPress login form return wp_login_form( array( 'echo' => false )); } } else { return "Hello there! Welcome back."; } } add_shortcode( 'my_wc_login_form', 'my_render_wc_login_form' ); |
At this point you might be asking yourself – why using the WooCommerce login form functions, instead of directly using the WordPress login form function. There are a few advantages of using the WooCommerce form, such as:
- consistent input element style – since the form uses the defaul WooCommerce classes for its elements, it will look in the same way as the other WooCommerce login forms on your site
- better error handling – if the authentication fails, the WooCommerce form will display a message on the same page, while the WordPress form will redirect your users to the default WordPress login page
Now let's use the login shortcode in your site.
How to use the WooCommerce login shortcode
You can apply this shortcode in almost any place you want. But let's add it in one of our pages. For example if you have a login page, you can create it this way:
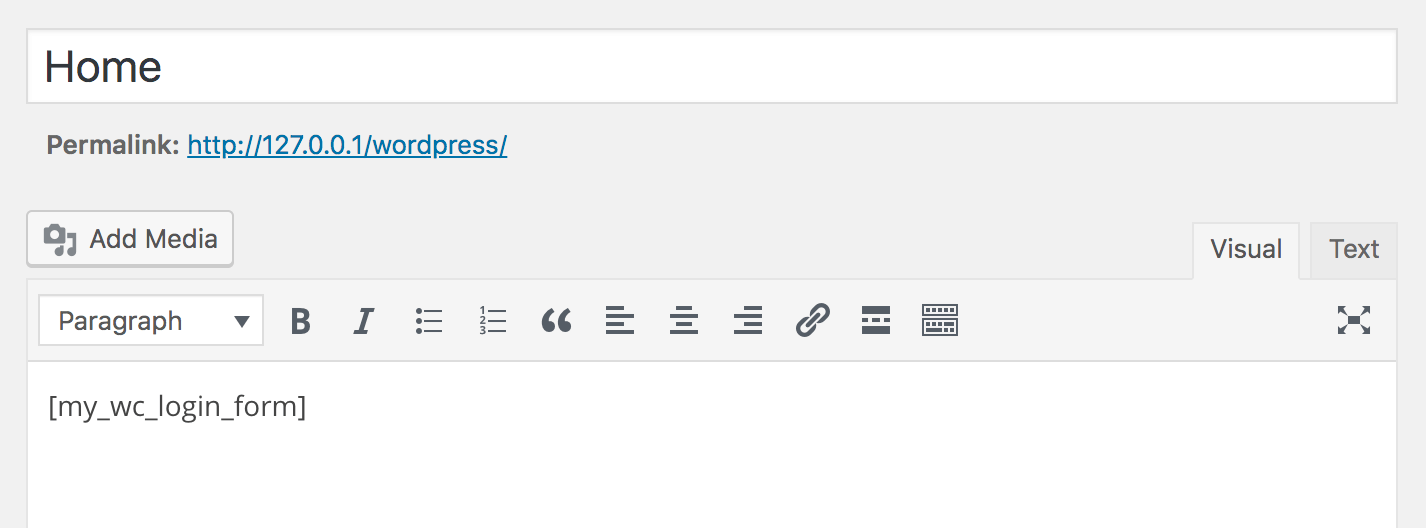
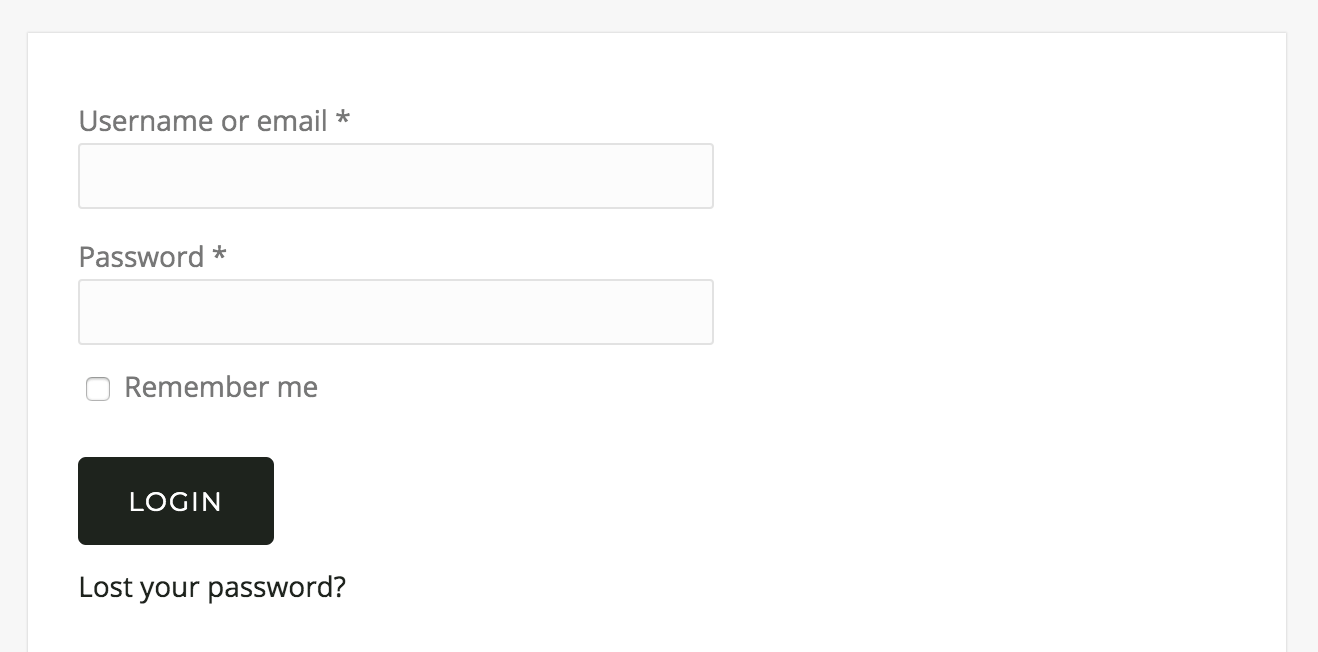
And this is the result:
On the other hand, you can use this shortcode in your sidebars. This is my personal favorite, as it fits quite nicely in the sidebar area. This is how you create it in your widget areas:
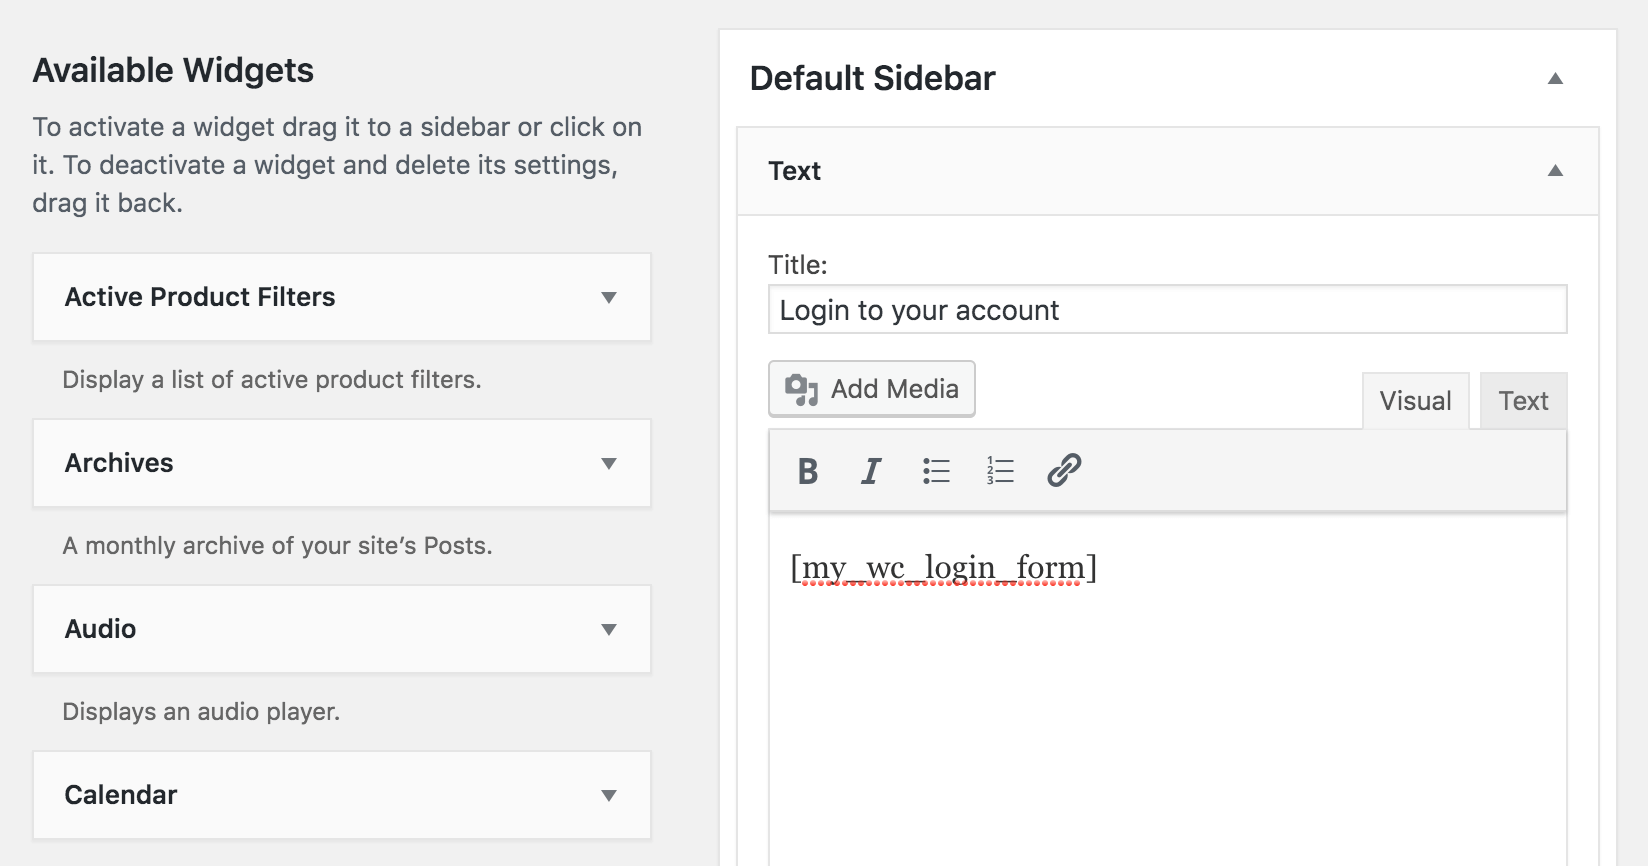
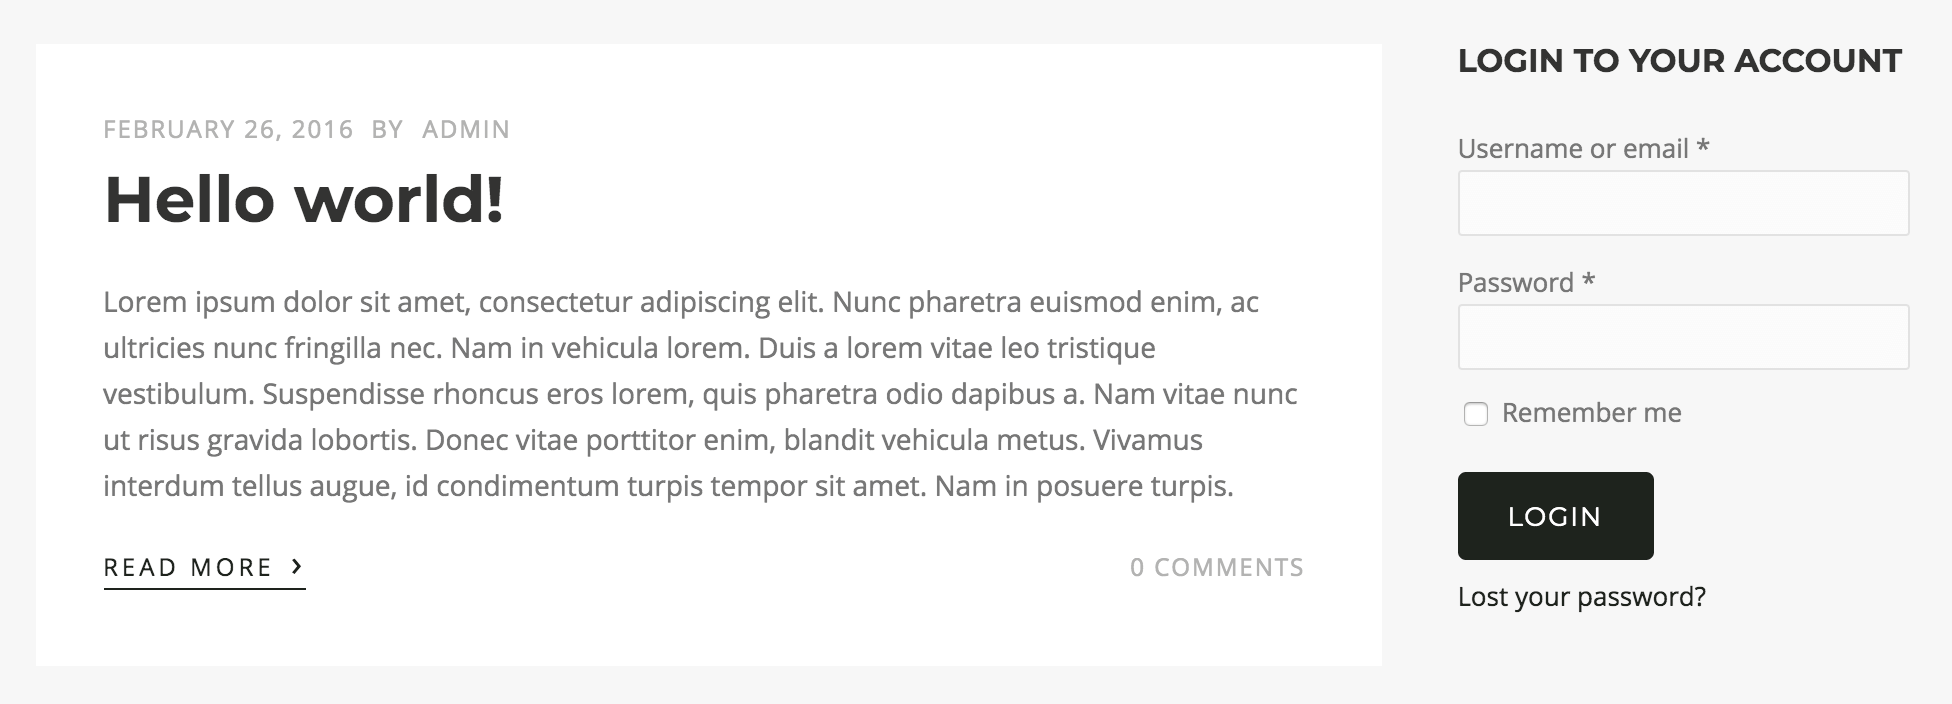
And this is the result we have:
Furthermore, you can use your WooCommerce login shortcode in your template files or inside of other shortcodes. For other shortcodes, this depends on your current plugins. Usually sliders, columns, accordions and other elements allow shortcodes in them. For a template edit, you can apply it with this code:
| echo do_shortcode('[my_wc_login_form]'); |
Conclusion
Today we looked into how to create your own WooCommerce login shortcode. You can use his shortcode anywhere you want. This makes it powerful for a solution in a page, widget, slider or even in other shortcodes.
We hope you enjoyed this article and see you again next time!
How To Create Woocommerce Login Page
Source: https://usersinsights.com/woocommerce-customer-login/
Posted by: mcmullenfied1952.blogspot.com
0 Response to "How To Create Woocommerce Login Page"
Post a Comment